- New batch laser marking mode
- New safety laser marking option
- Checking shift of stone position during scanning and marking
- Optimization algorithms are improved
- Inclusions textures on photorealistic images
- Export set of burning lines into separate file *.bdl from Pacor Client and mark it on Helium Rough
Important notice. To use new program make following actions once after replacement of HeliumRough.exe file:
- In the root folder of Helium Rough folder find file HeliumStart.mmd. Right click on file HeliumStart.mmd and select Properties, in the string with attributes find box Read only. Make sure that it is not Read only, otherwise uncheck box Read only and press Ok
- Run program HeliumRough.exe
- Press Other.. in the panel Marking-out / tab Env to open panel Additional data
- Uncheck box Cascade simplification
- Save HeliumStart.mmd
- Exit program
- Check box Read only in properties of files HeliumStart.mmd again
1. New batch laser marking mode
New batch mode of laser marking is implemented:
- Safety of marking process is significantly increased due to reducing of stones damages such as cracks on surface, breaks of stone during marking
- The batch laser marking mode reduces time of marking
For current scanner hardware controllers in batch mode marking is not stopped in a moment during pressing of STOP button or opening the cover. Marking stops after completion of commands batch. It is approximately 3-5 sec after pressing of STOP or opening the cover.
It is necessary to replace hardware controller with new once to let software stop marking in a moment after pressing of STOP button or opening the cover. Besides replacement of controller allows to make marking process quitter.
For replacement of hardware controller please contact distributor in your region.
2. New safety laser marking option
The new laser marking doesn't draw lines near any type of defects. It allows to avoid small micro cracks near defects appearing because of tensions.
This option provides more safety for stone while laser marking process.
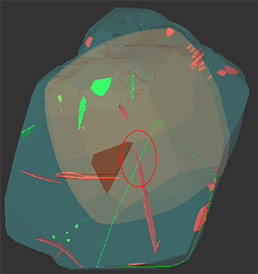
The safety distance is 100 microns from the edges of defect. The drawing stops at distance 100 microns before defect and continues at distance 100 micron after defect. Please see example of laser marking line on the image:
| The OXG File with Plotted Inclusion and Plan |
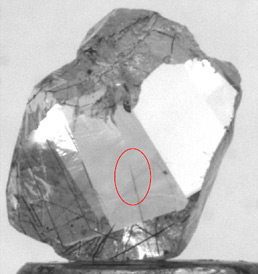
Real Image of the Inclusion (Crack) before Marking |
Image of the Stone after Marking (With Paint) |
 |
 |
 |
The value of safety distance could be changes by administrator. Please ask your distributor in the case of need.
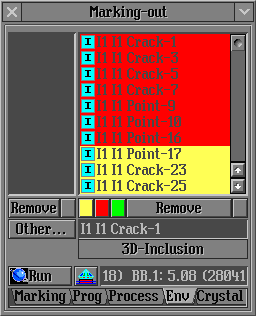
Note. Please make sure that all defects should be placed in the defect list in Env page of Marking-out panel if you would like to apply this option for them.
3. Checking shift of stone position during scanning and marking
Now system checks shift of stone position during scanning and marking. If it discovered the stone shift a warning message will be displayed. This option is especially useful during working with pump without gluing of stones on holders.
System determines shift by comparison of current position contour with base contour*. If they are equal it allows to work further.
If system discovers shift of stone before laser marking the follow warning message will appear: 
Note. The same warning message will appear if system discovers shift before Laser mapping mapping process executed separately from shadow scanning.
If system discovers shift of stone during scanning process the follow warning message will appear:

If system discovers shift of stone during marking process the follow warning message will appear:

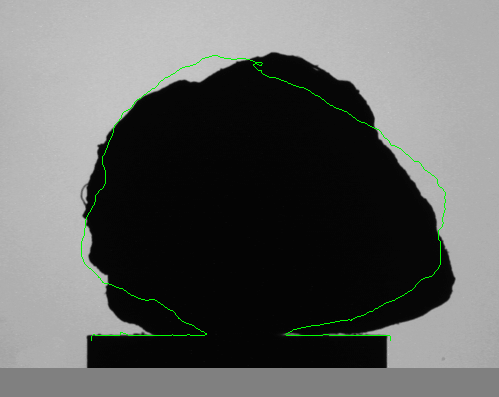
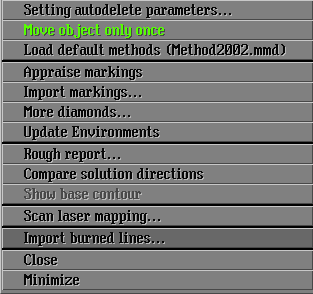
*To see base contour of stone before its shift select from Show base contour in menu of Marking out panel:
See base contour marked as green line and a photo of current stone position:
4. Optimization algorithms are improved
The optimization algorithms 08.Adaptive and 06.Smart C1 are improved
5. Inclusions textures on photorealistic images
New version of Helium Rough supports integration of inclusions textures on photorealistic images with Microscope Oxygen Server since version 2.5.0 Beta
6. Export set of burning lines into separate file *.bdl from Pacor Client and mark it on Helium Rough
New option allows to export set of burning lines into separate Burned Data Lines file *.bdl from the Pacor Client and mark it on the Helium Rough.
To create *.bdl file in the Pacor Client:
- In the panel Draw line Preview

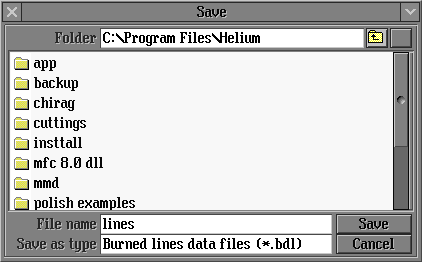
- Select from menu Save current selected lines
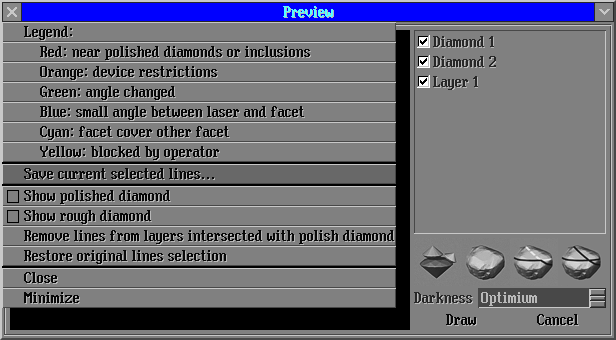
- Save *.bdl file
To open *.bdl file in the Helium Rough:
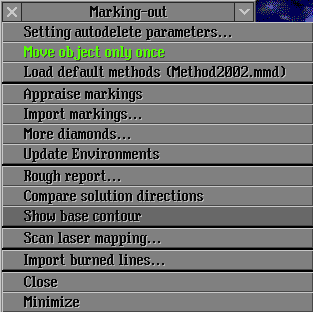
- Open panel Marking-out
- Select from menu Import burned lines...
|